
How the match is scored
WARDOGS puts up to 100 players across three teams. The team with the most players inside the active Control Zone earns points, and the first team to reach 100 wins. Kills remove opponents and create space, but the official victory condition is objective scoring rather than a kill total.
Watch the active zone, score and next movement before chasing a fight. A squad outside the zone may still help through transport, reconnaissance, artillery or logistics, but it should understand how that work returns players or pressure to the objective.
Active zone versus the whole map
The official description places randomized 2 × 2 km Control Zones inside much larger maps. The terrain size describes the available battlefield; the current Control Zone identifies where team presence is counted. A route that was central in one match can be irrelevant after the randomized objective changes.
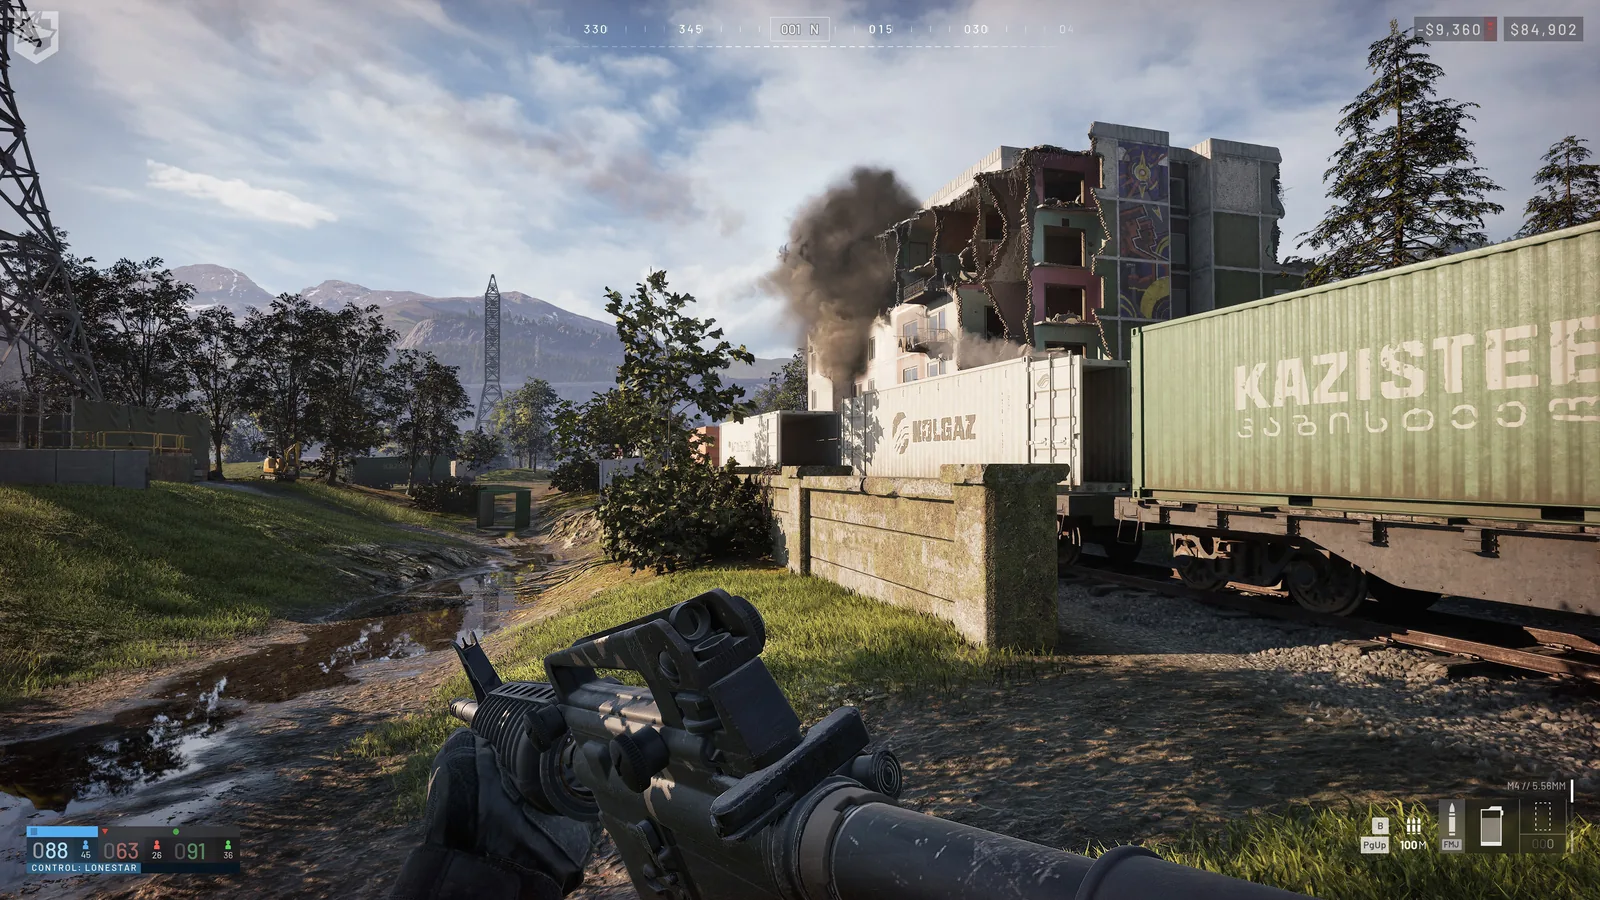
Use the live map to identify the zone edge, friendly positions and available transport. The maps guide records map names and navigation principles without treating a static screenshot as a live tactical display.
What the Hot Zone adds
Inside the broader objective, the Hot Zone creates a more concentrated contest and an official double-cash incentive. Tower control and player-built drills can also affect the fight around it. Read the current HUD and interaction prompts before committing resources because timings and scoring weight can change between builds.
Do not assume that standing anywhere on the map earns the same reward. Confirm the marked area, stay alive long enough to contribute and leave when a rotation makes the position obsolete.
Where to move next
Use this rotation check:
- Find the active Control Zone and Hot Zone.
- Count nearby friendly presence and identify the route with cover or transport.
- Decide whether the squad is attacking, reinforcing, supplying or leaving.
- Tell the driver or pilot the destination before boarding.
- Recheck the map after a major score change, tower event or Hot Zone movement.
A supplied forward position can shorten the trip, but it does not replace players inside the objective. Read building and logistics before committing to a base away from the current route.
Towers and player-built drills
Current play guides describe capturing tower panels to reveal information and using the resulting code interaction to influence the Hot Zone. Player-built, fueled drills can provide another way to influence its position. These are active systems rather than map decorations, so follow the current interaction text and communicate what the team has already completed.
A drill needs the correct FOB, fuel and defense. A tower plan needs players to reach and hold the relevant structure. Neither mechanic guarantees control after opponents respond.
Related systems
Use economy for cash earned through objective and support work, vehicles for rotations and FOB for the forward logistics item. The official match size, randomized Control Zone and first-to-100 condition are documented by Team17 and Steam.
Read every value with its version.
Official changes use first-party announcements. Item fields without a current official table remain labeled as dated gameplay records until they can be checked in the public client.